Comprehensive Guide to Azure Pipelines: Building and Releasing with Ease
July 22, 2023 Leave a comment
Azure Pipelines is a powerful continuous integration and continuous delivery (CI/CD) service provided by Azure DevOps. It enables teams to automate the build, test, and deployment processes for their applications, ensuring a streamlined and efficient development workflow. In this blog post, we will explore the key components of Azure Pipelines, including pipeline structure, agent pools, build and release pipelines, task groups, and deployment groups. By the end of this article, you will have a comprehensive understanding of how to set up and leverage Azure Pipelines to automate your CI/CD pipelines.
Pipeline Structure:
Azure Pipelines are defined using YAML files, which provide a structured way to describe the pipeline’s configuration. A typical pipeline consists of one or more stages, and each stage contains one or more jobs.
- Stages: Stages represent distinct phases of the CI/CD process, such as Build, Test, and Deploy. Each stage executes sequentially and can have its own set of jobs.
- Jobs: Jobs represent individual units of work within a stage. They are executed in parallel and usually consist of a set of tasks.
- Agent: An agent is a software component responsible for running the tasks in a pipeline. Agents can be hosted in the cloud (Microsoft-hosted agents) or on your infrastructure (self-hosted agents).
- Agent Pools: Agent pools are groups of agents that are available to run pipelines. Azure DevOps provides a default pool of Microsoft-hosted agents, or you can set up your own self-hosted agent pool for specific requirements.
- Jobs: As mentioned earlier, jobs represent units of work within a stage. Each job runs on a single agent and can consist of multiple tasks.
Types of Pipelines: Build vs. Release:
Azure Pipelines supports two types of pipelines: Build pipelines and Release pipelines.
- Build Pipelines: Build pipelines automate the process of compiling, testing, and packaging code into artifacts. They are triggered when changes are pushed to the repository and generate artifacts that can be used in the release pipeline.
- Release Pipelines: Release pipelines automate the deployment of artifacts to different environments. They consist of multiple stages, each representing an environment (e.g., development, acceptance, production), and are triggered by artifacts produced in the build pipeline.
YAML pipelines vs Classic pipelines
Both YAML-based and classic pipelines offer advantages and disadvantages. The choice between them depends on the team’s familiarity with pipeline-as-code concepts, the need for version control and collaboration, and the desire for visualizations and ease of use. Teams experienced with Git and YAML will likely find YAML-based pipelines more suitable for their versioning and collaboration needs. On the other hand, teams seeking quick setup and visualizations may opt for classic pipelines.
YAML Based Pipelines (Multi-Stage Pipelines):
Pros:
- Code as Configuration: YAML-based pipelines enable defining pipelines as code, making it easier to version control, review, and manage changes. The pipeline configuration is part of the source code repository, promoting a single-source-of-truth approach.
- Simplicity and Readability: YAML syntax is straightforward and easy to read, even for non-technical team members. The clear structure makes it simple to understand the pipeline flow and stages.
- Reproducibility: YAML-based pipelines ensure consistent build and deployment processes across different environments, ensuring reproducible and reliable results.
- Scalability: YAML pipelines support template reuse, enabling task groups and custom templates to be shared across multiple pipelines, enhancing scalability and maintainability.
- Cross-platform: YAML-based pipelines are platform-agnostic and can be used for multi-platform projects, including Windows, macOS, and Linux-based builds.
Cons:
- Learning Curve: For teams unfamiliar with YAML or pipeline-as-code concepts, there may be a learning curve when transitioning from classic pipelines to YAML-based pipelines.
- Manual Editor Limitations: The Azure DevOps web-based editor for YAML pipelines may lack certain features and visualizations compared to the classic UI-based editor.
- Limited Visualizations: While YAML-based pipelines provide visibility into the pipeline configuration, there might be a lack of visualizations for complex pipeline structures.
Classic Pipelines (GUI-Based Pipelines):
Pros:
- Ease of Use: Classic pipelines offer a drag-and-drop interface, making it simple for non-technical team members to create and manage pipelines without needing to understand YAML syntax.
- Visualizations: Classic pipelines provide a rich set of visualizations, including graphical representations of the pipeline stages and tasks, which can be helpful for quickly understanding the pipeline flow.
- Quick Setup: Classic pipelines are faster to set up initially, especially for teams that are not familiar with YAML or prefer a more visual approach.
- Built-in Wizards: Classic pipelines include built-in wizards for common CI/CD tasks, making it easy to set up continuous integration, deployment, and testing.
Cons:
- Versioning and Collaboration: Classic pipelines lack built-in version control, making it challenging to track changes and collaborate effectively when multiple team members modify the pipeline configuration.
- Reproducibility: Classic pipelines may be susceptible to manual changes and configuration drift, leading to inconsistent results in different environments.
- Limited Reusability: Task groups and templates, which promote reusability in YAML-based pipelines, are not as easily leveraged in classic pipelines, potentially leading to duplication and maintenance challenges.
Create a classic build pipeline
To learn about the pipelines we can look at the basics of pipelines and once the concepts are clear, the same steps and configurations can be applied to YAML pipelines.
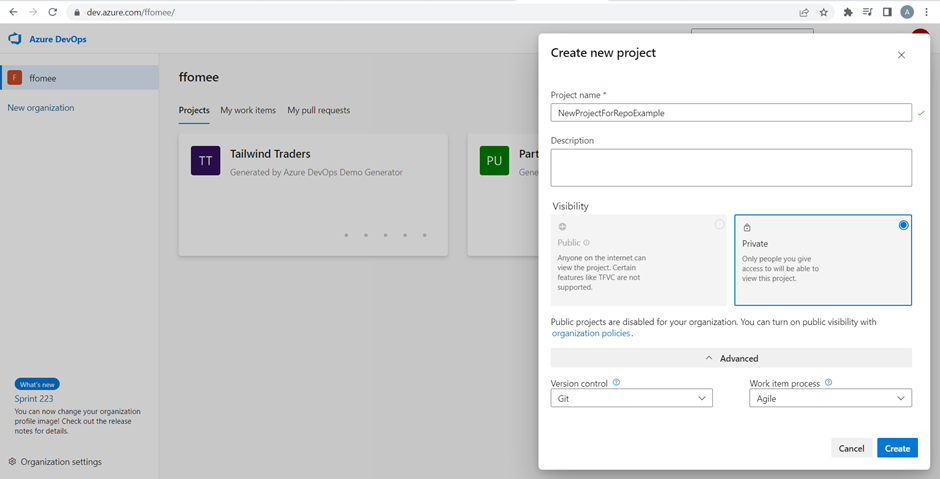
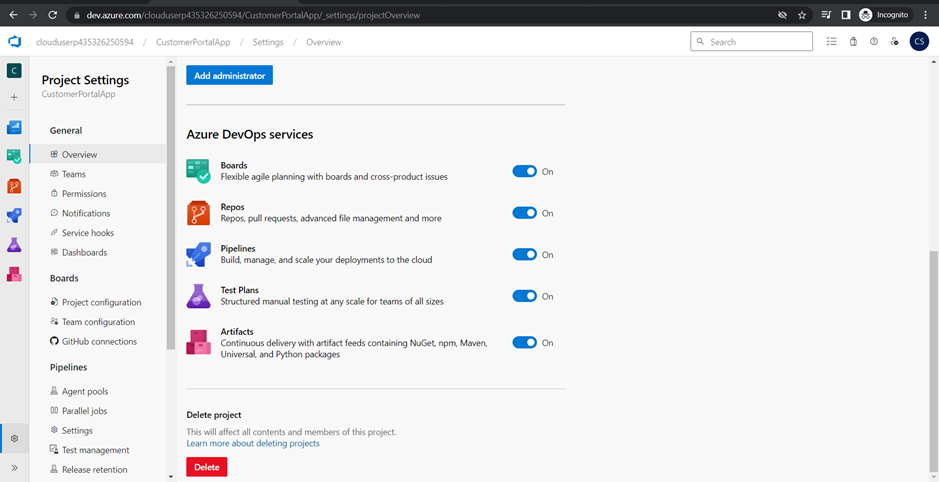
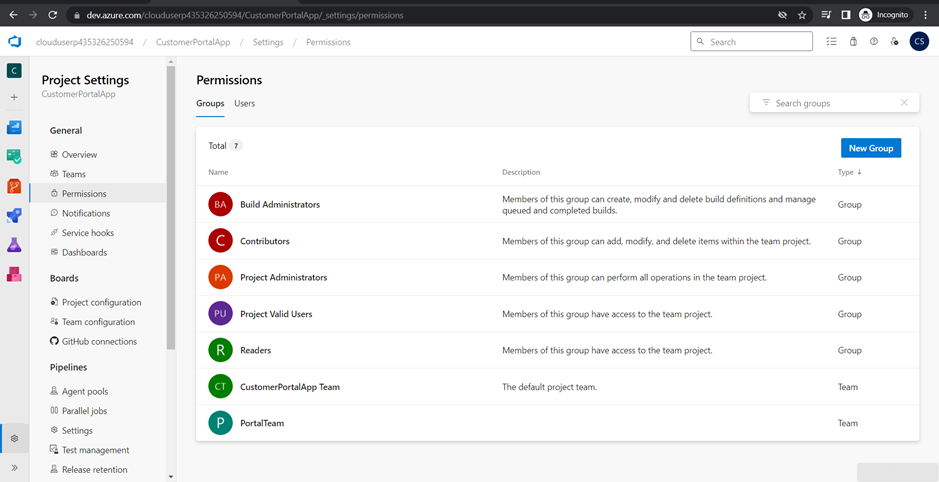
Step 1: Sign in to Azure DevOps and navigate to your project.
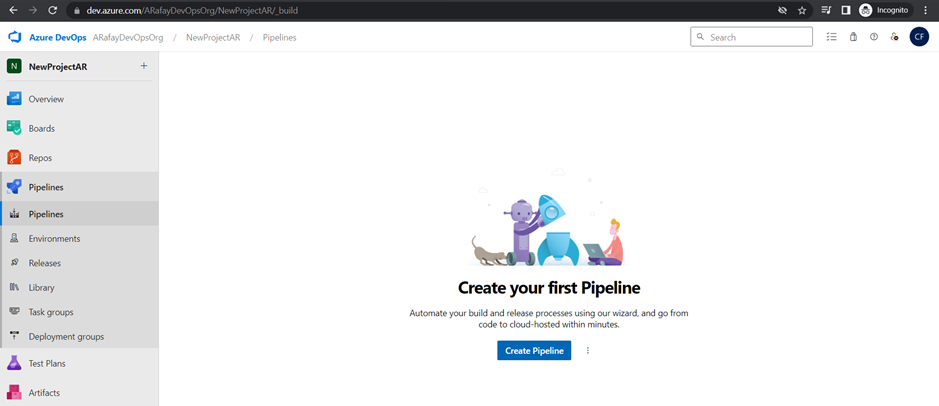
Step 2: In the left-hand navigation pane, click on “Pipelines” and then select “Builds.”
Step 3: Click on the “New pipeline” button to create a new build pipeline.
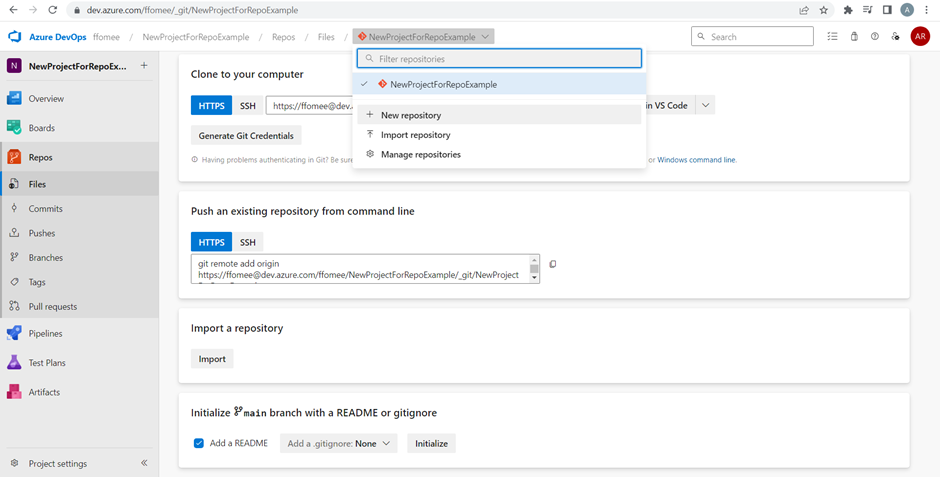
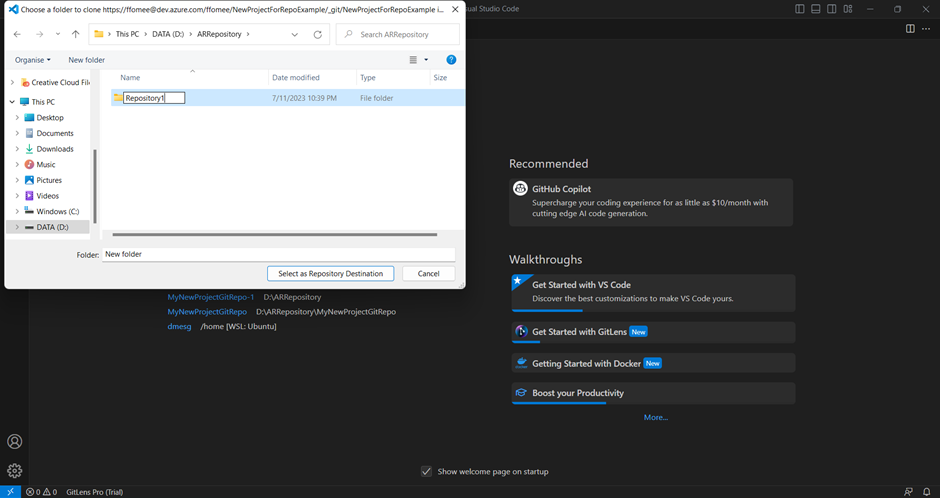
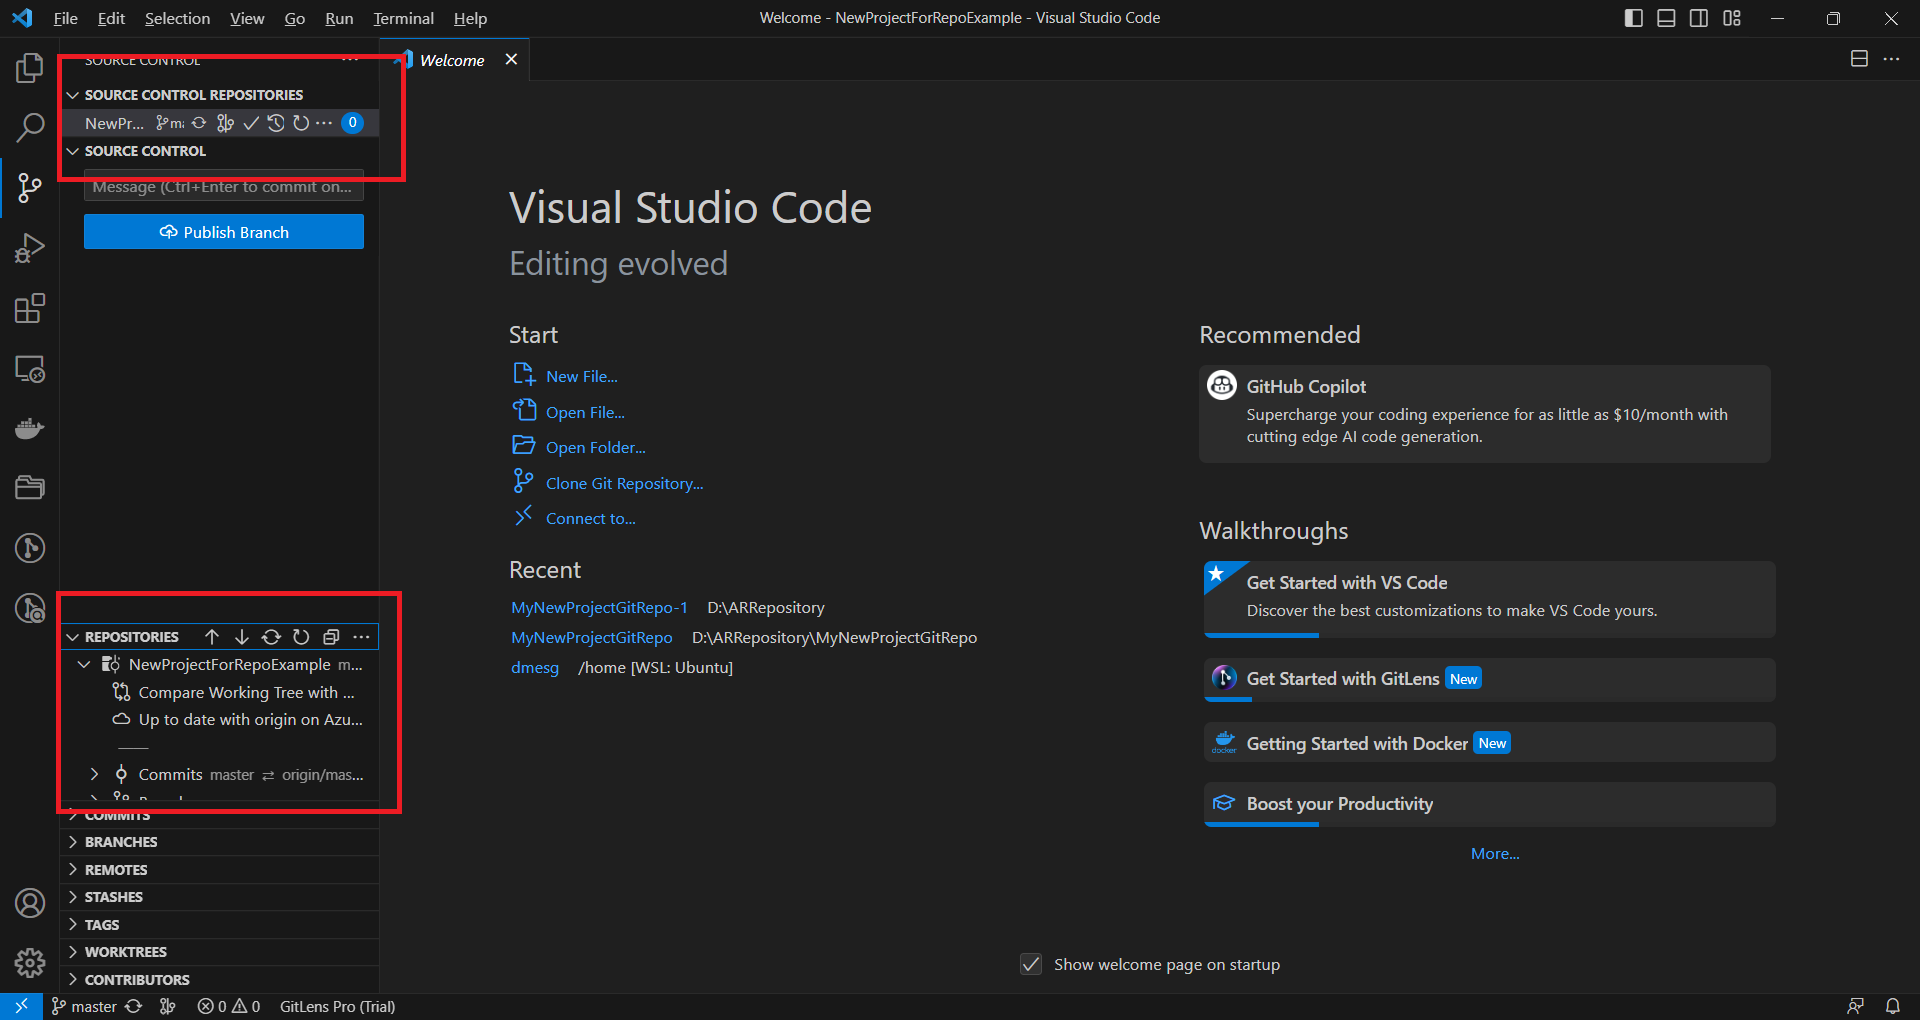
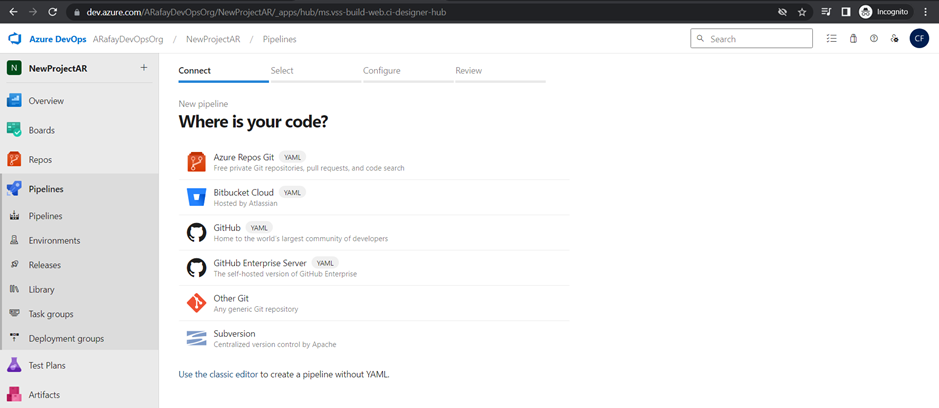
Step 4: Choose the source code repository you want to build. Azure DevOps supports repositories from Azure Repos Git, GitHub, Bitbucket, and others. We will use Azure Repos Git, click the “Use the classic editor“.
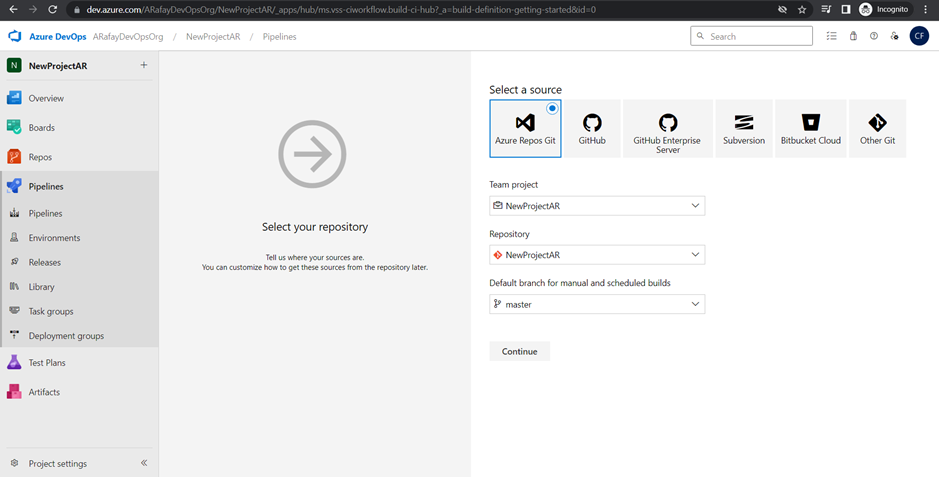
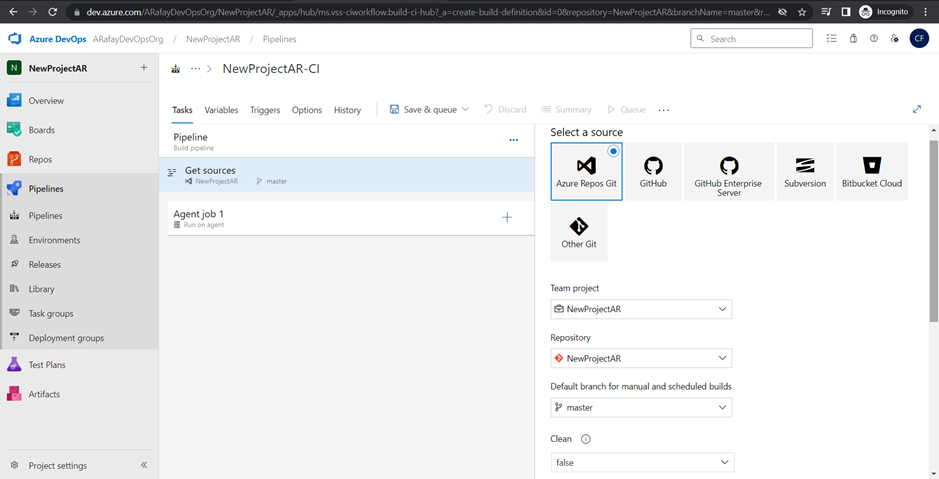
Step 5: Select the template for your pipeline. If you are starting from scratch, choose the “Empty job” template. If you prefer a starting point with pre-configured tasks, choose the appropriate template based on your application type and platform.
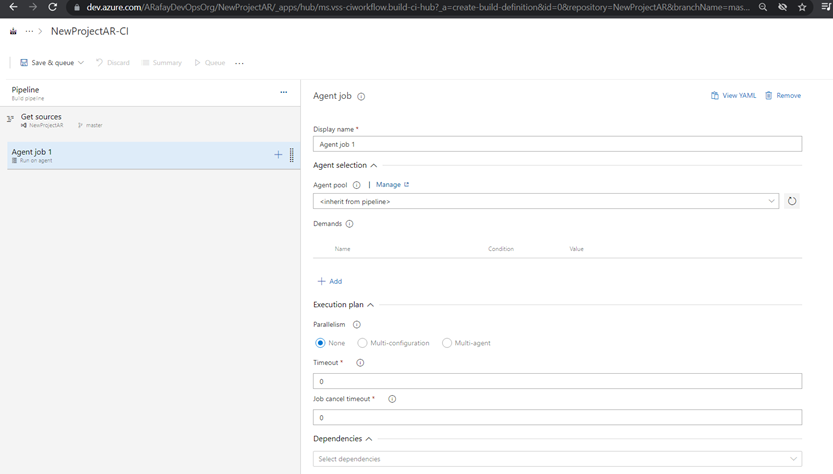
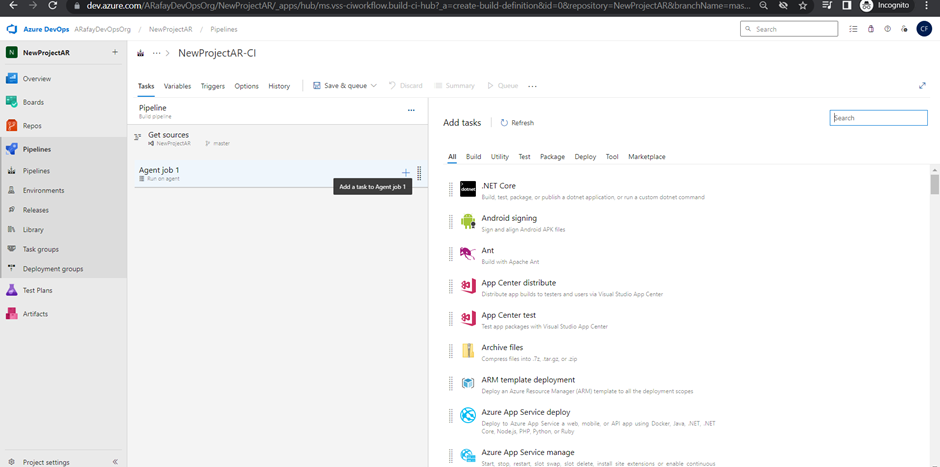
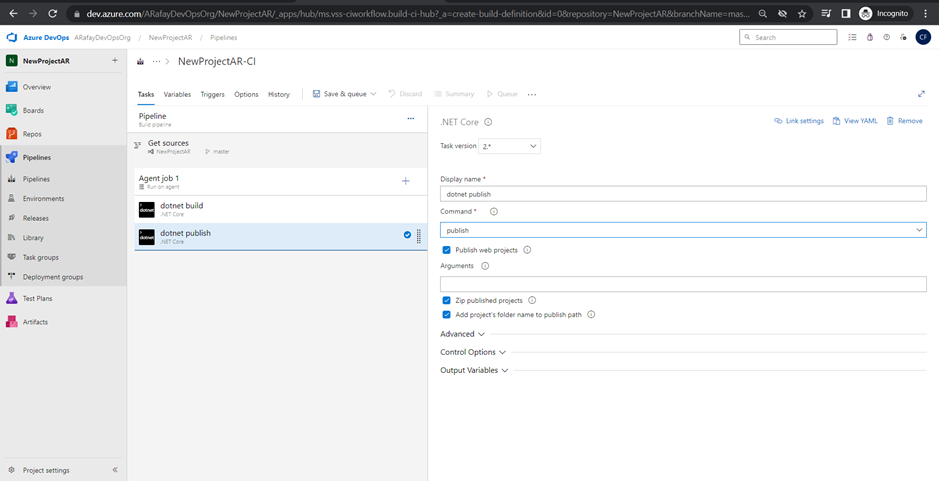
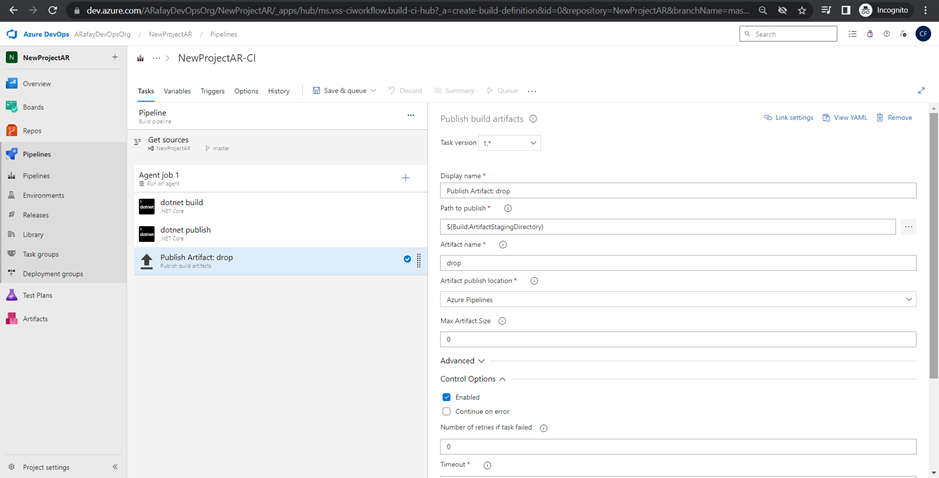
Step 6: Customize the pipeline by adding tasks. Click on the “+” icon within the agent job to add new tasks. Each task represents a specific action in the build process, such as restoring dependencies, compiling code, running tests, and packaging artifacts.
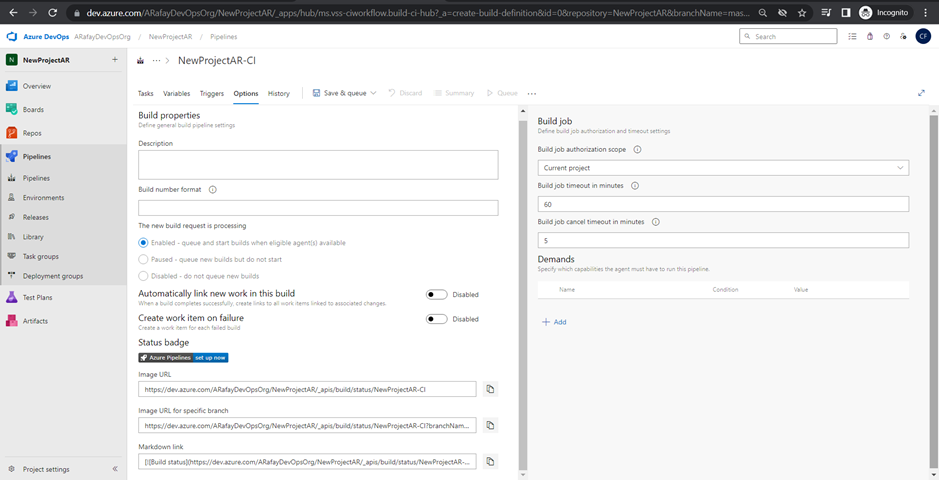
Step 7: Configure the properties for each task by specifying input parameters, such as file paths, build configurations, and test frameworks.
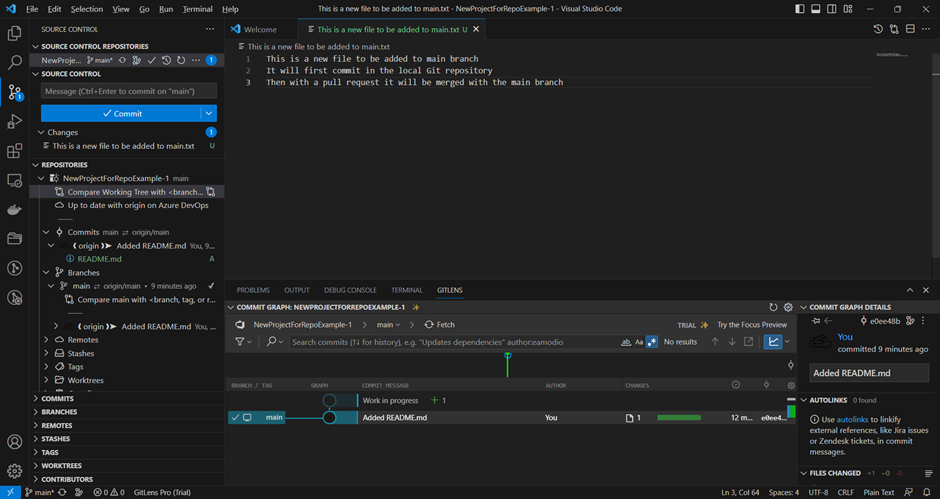
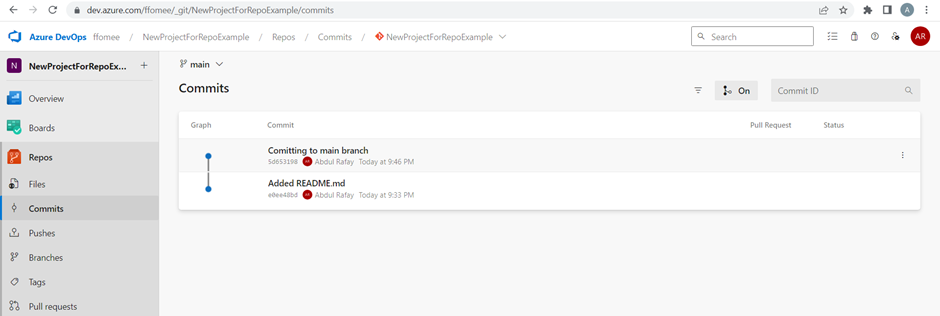
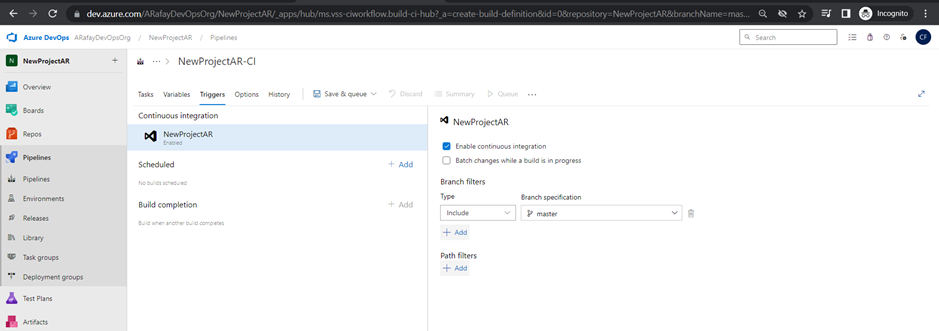
Step 8: Set up triggers for the pipeline. By default, the pipeline will be triggered on every commit. You can customize the trigger to suit your needs, such as triggering on specific branches, tags, or scheduled builds.
Step 9: Optionally, set up build validation to ensure that code changes are tested and built successfully before merging into the main branch.
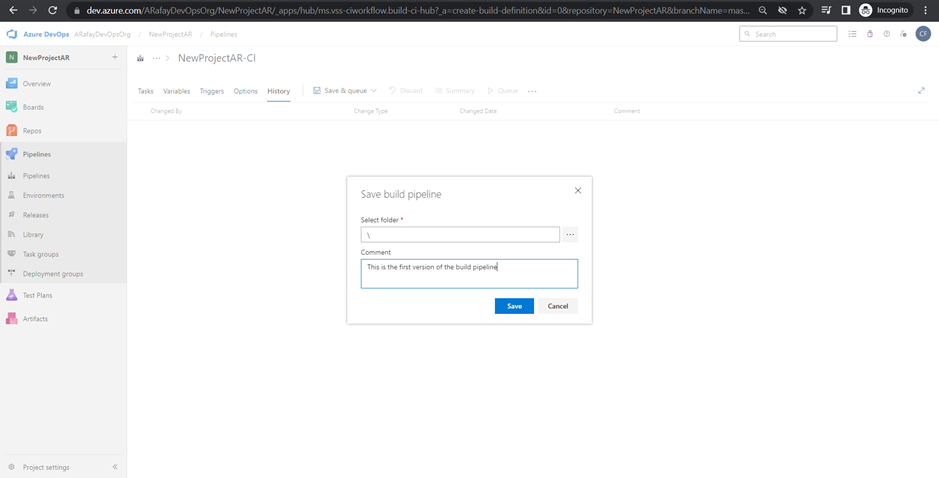
Step 10: Save and queue the pipeline. Once you have completed configuring the pipeline, click on “Save & Queue” to save the changes and run the build for the first time.
Step 11: Monitor the build. After the build is triggered, you can monitor its progress and view the build logs to check for any errors or issues.
Step 12: Set up notifications and integrations. Configure notifications to receive build status updates via email or chat platforms and integrate with other Azure services or third-party tools as needed.
Creating a release pipeline
Let’s walk through the step-by-step process of creating a release pipeline with three stages of environment releases (Dev, QA, and Production) and configuring triggers on both artifacts from the build pipeline and the environment stages:
Step 1: Sign in to Azure DevOps and navigate to your project.
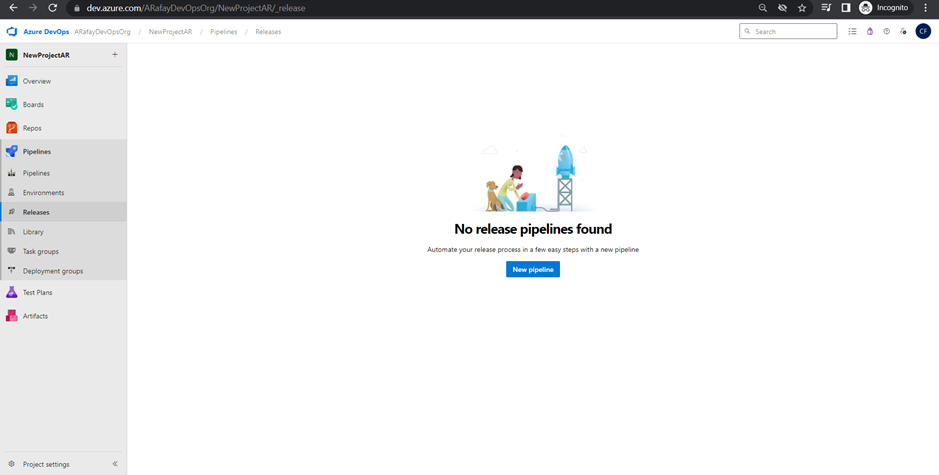
Step 2: In the left-hand navigation pane, click on “Pipelines” and then select “Releases.”
Step 3: Click on the “New pipeline” button to create a new release pipeline.
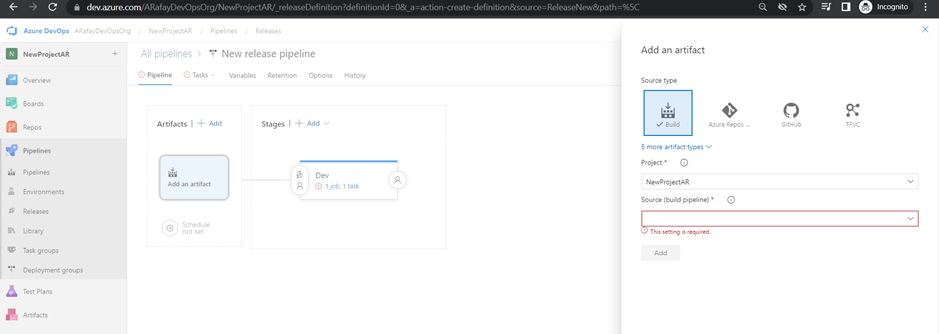
Step 4: Choose the template for your pipeline. If you prefer to start from scratch, choose the “Empty job” template. If you want to start with pre-configured tasks, select the appropriate template based on your application type and platform.
Step 5: Customize the release pipeline stages: a. Click on the “Add an artifact” button to select the build pipeline as the source of your artifacts. Choose the appropriate build definition from the list. b. Click on the “+” icon within the “Artifacts” section to add a new stage. c. For each stage (Dev, QA, and Production), click on the “+” icon within the stage to add tasks specific to that environment. For example, you may have deployment tasks to different servers or cloud environments.
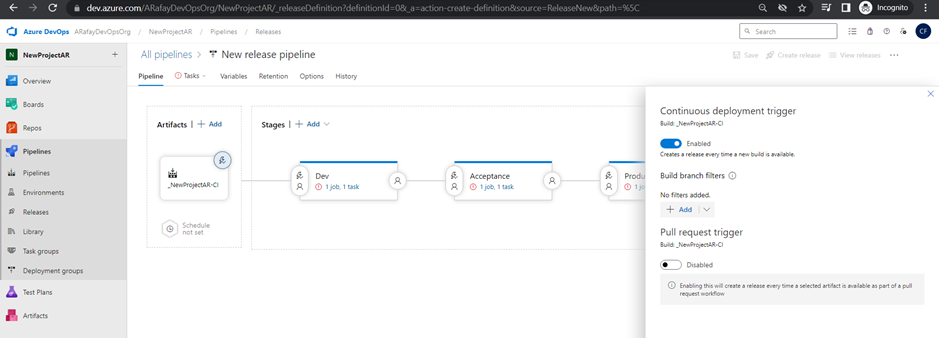
Step 6: Configure triggers on artifacts: a. Click on the “Continuous deployment trigger” switch to enable continuous deployment from the selected build pipeline. b. Optionally, configure specific branch filters or tags to control when the release pipeline is triggered from the build pipeline.
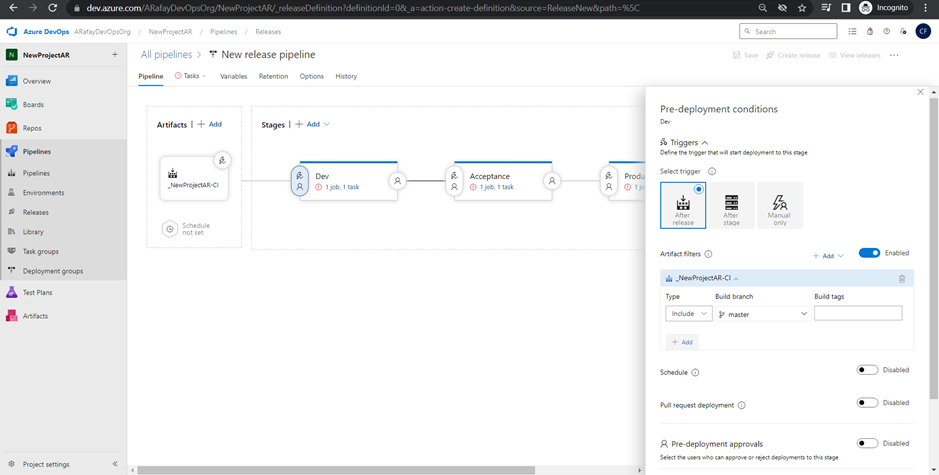
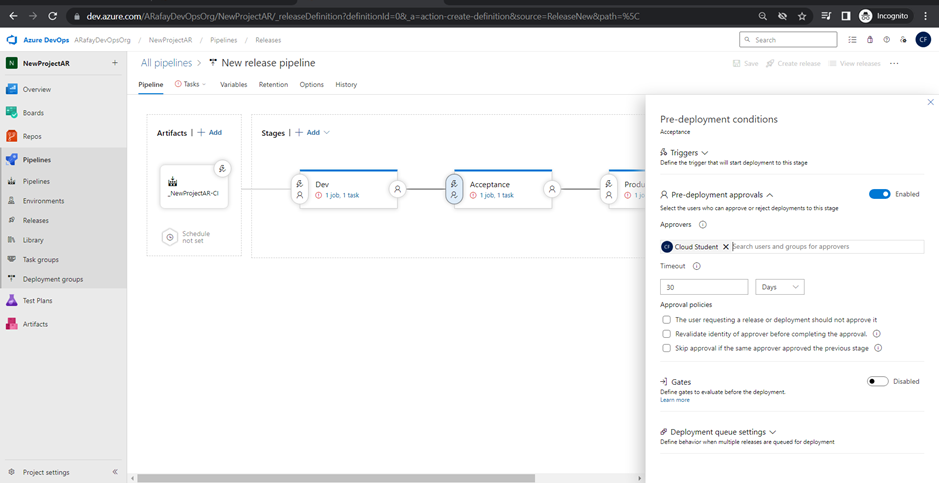
Step 7: Configure triggers on environment stages: a. Click on the “Pre-deployment conditions” tab for each environment stage (Dev, QA, and Production). b. In the “Artifact” tab, click on the “+ Add” button to specify the source of the trigger. Select the build pipeline artifact you want to trigger the deployment for this stage.
Step 8: Save and create the release pipeline. a. Click on “Save” to save the changes made to the release pipeline. b. Optionally, click on “Create a release” to manually trigger a release deployment. Alternatively, if the continuous deployment trigger is enabled, a release will be automatically triggered when the associated build pipeline completes successfully.
Step 9: Monitor the release pipeline. a. Once the release is triggered, you can monitor its progress and view the deployment logs for each environment stage.
Step 10: Set up notifications and integrations. a. Configure notifications to receive release status updates via email or chat platforms. b. Integrate with other Azure services or third-party tools as needed for additional actions and notifications.
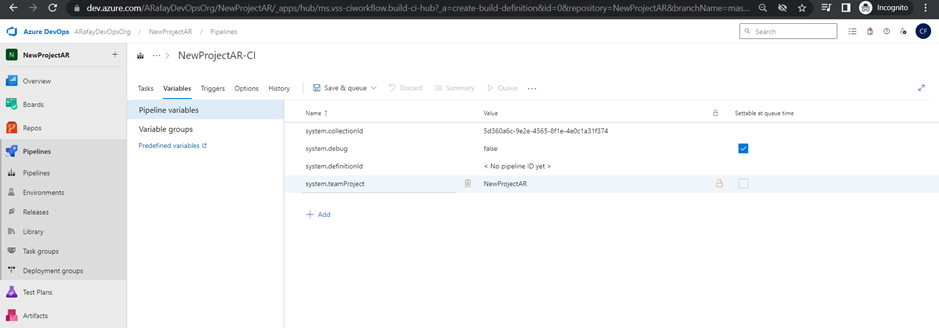
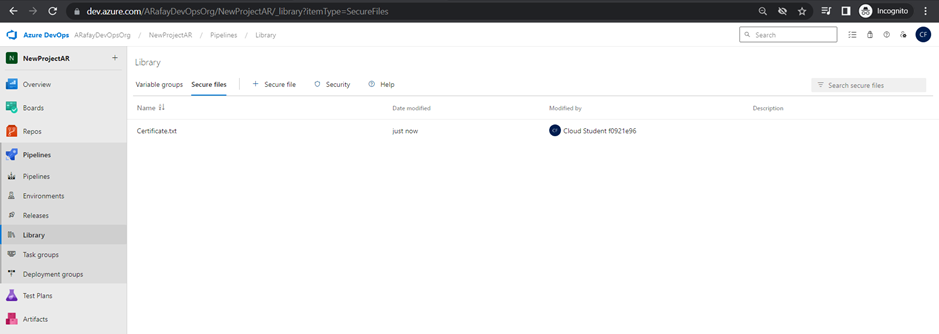
Variables and Secure Files in Library:
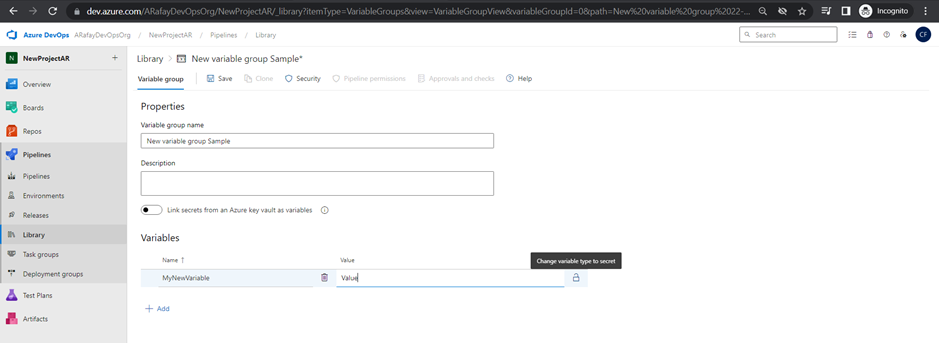
Azure Pipelines provides the Library, where you can store variables and secure files to be used in your pipelines. Variables allow you to define values that can be shared across pipeline stages, jobs, and tasks. Secure files store sensitive information, such as credentials, in an encrypted format.
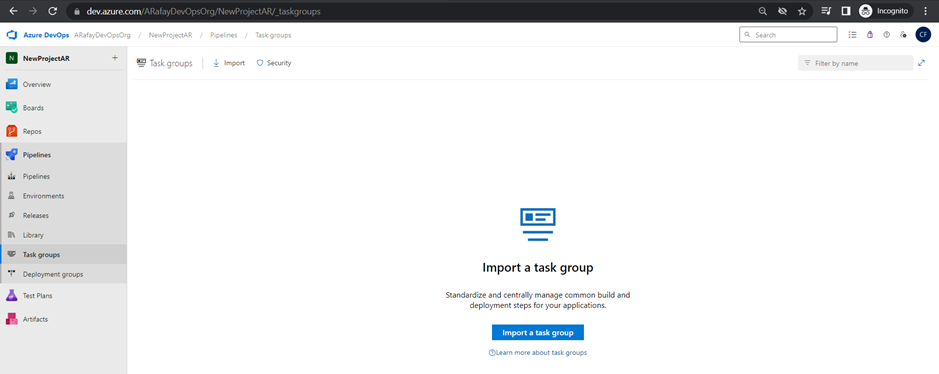
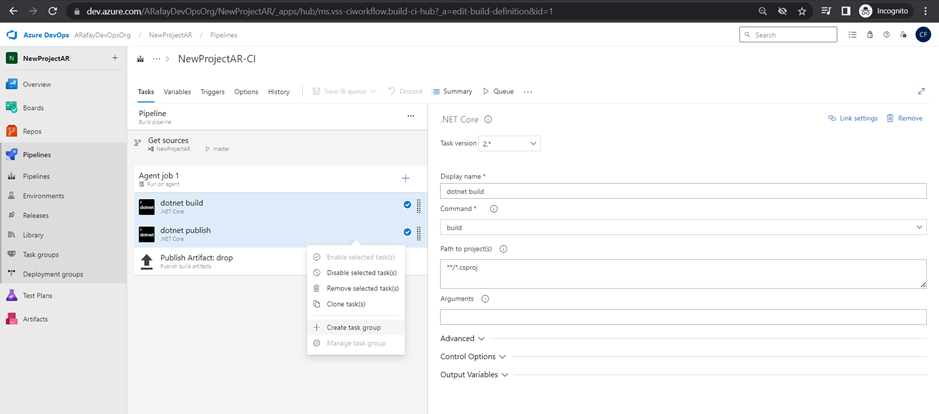
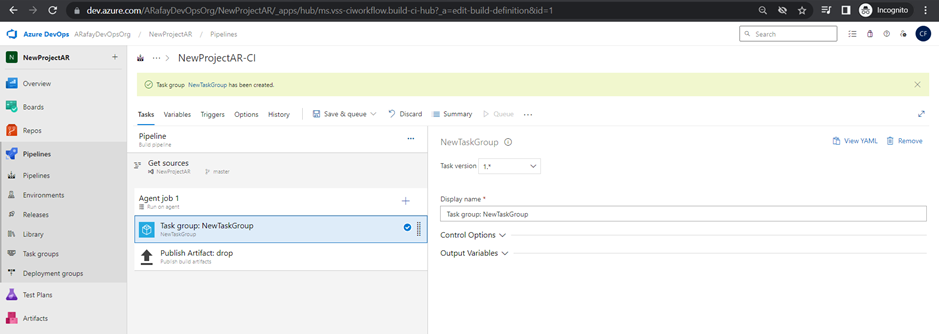
Task Groups:
Task groups are a reusable and shareable set of tasks that can be used across multiple pipelines. They allow you to encapsulate a sequence of tasks into a single unit, simplifying pipeline configuration and maintenance.
Deployment Groups:
Deployment groups are used to define a set of target machines, such as virtual machines or Kubernetes clusters, to deploy your application. You can then target deployment tasks to these groups, allowing for centralized management of deployments.
Conclusion:
Azure Pipelines is a powerful CI/CD service that enables teams to automate their build, test, and deployment processes seamlessly. By leveraging the pipeline structure, agent pools, build and release pipelines, task groups, and deployment groups, teams can achieve a streamlined and efficient development workflow. With the ability to automate the entire software delivery process, Azure Pipelines empowers developers to deliver high-quality applications with speed and confidence. As you explore and implement Azure Pipelines in your projects, remember to continually optimize and improve your pipelines to meet the evolving needs of your development process. Happy automating!