Azure DevOps: Steps for Getting Started
July 1, 2023 Leave a comment
Azure DevOps is a powerful cloud-based platform that provides a range of services to support the entire development lifecycle. Whether you are an individual developer or part of a large team, Azure DevOps can streamline your development process, improve collaboration, and enhance overall productivity. In this blog post, we will walk you through the initial steps of setting up your organization, team, and project in Azure DevOps. We will also cover essential project settings and provide advice on other sections you should consider exploring. This post serves as the foundation for a series of subsequent blog posts that will delve deeper into Azure DevOps features and functionalities.
Setting Up Your Organization:
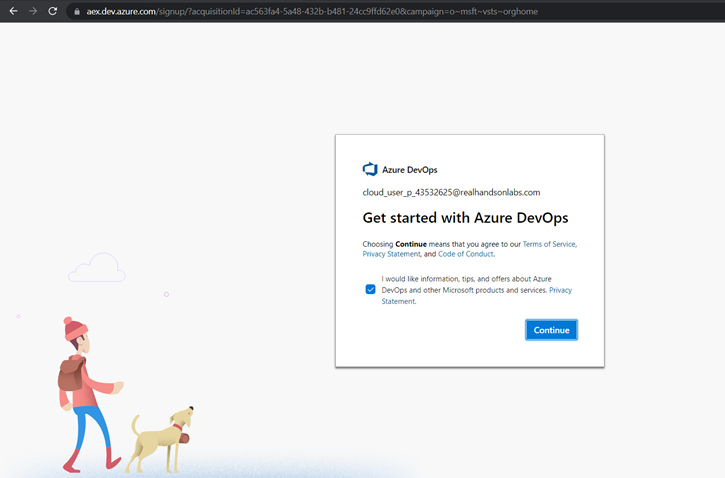
The first step in getting started with Azure DevOps is to set up your organization. An organization represents the highest level of management and provides a logical container for your projects. Follow these steps to create an organization:
- Sign in to Azure DevOps (dev.azure.com) using your Microsoft account or organizational account.
- Click on the “+ New organization” button.
- Enter the required details, such as organization name, URL, and region.
- Choose the appropriate access level (public or private) for your organization.
- Click on “Create” to complete the organization setup.

Creating Teams:
Teams play a crucial role in enabling collaboration and organizing your Azure DevOps projects. Follow these steps to create teams within your organization:
- Navigate to your organization’s home page and click on “Teams” in the main menu.
- Click on “+ New team” and provide a name and description for the team.
- Specify the team’s settings, including visibility and access permissions.
- Optionally, add team members by entering their email addresses or selecting users from your organization.
- Click on “Create” to create the team.

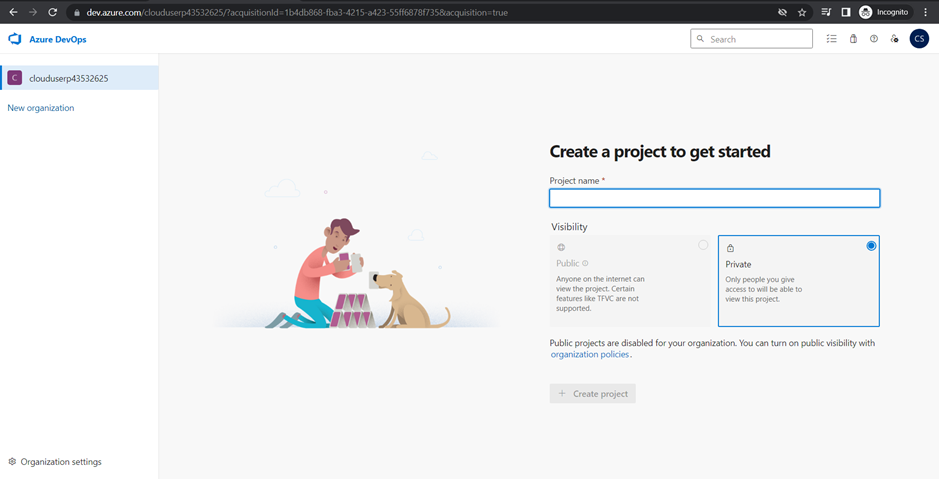
Creating Projects:
Projects in Azure DevOps provide a centralized workspace for your development efforts. Each project can have multiple repositories, boards, pipelines, and other resources. Follow these steps to create a project:
- From your organization’s home page, click on “New project.”
- Provide a project name, description, and visibility level (public or private).
- Choose a version control system for your project (Git or Team Foundation Version Control).
- Configure the project’s settings, including work item process, project visibility, and access.
- Click on “Create” to create the project.

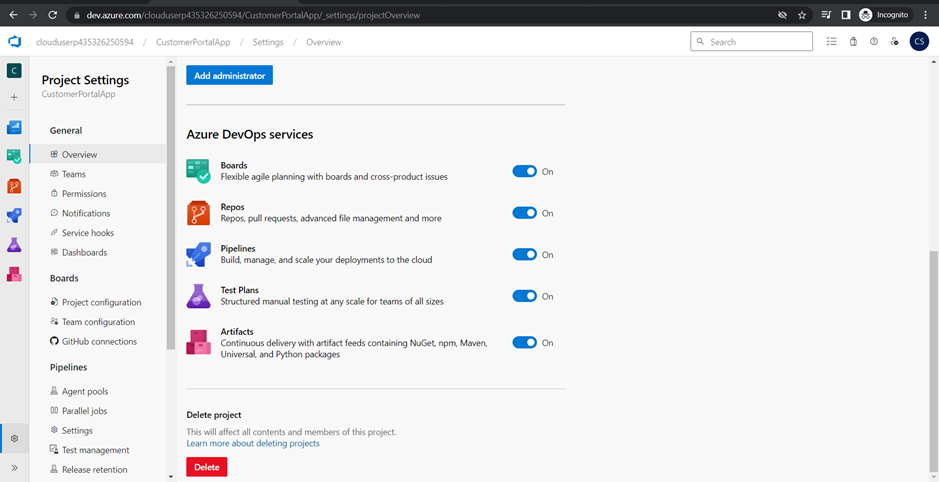
Project Settings:
To ensure your project is optimized for your team’s needs, it’s essential to configure the project settings. Here are some key settings you should consider:
- Version Control: Choose the appropriate version control system (Git or TFVC) based on your team’s requirements.
- Work Item Process: Customize the work item types, fields, and workflow to align with your development methodology.
- Boards: Configure agile boards, backlogs, sprints, and any additional settings that align with your project management practices.
- Repositories: Set up repositories, branches, and branch policies to manage your source code effectively.
- Pipelines: Define build and release pipelines to automate the build, test, and deployment processes.
- Integrations: Connect your project to external tools and services, such as Azure services, third-party extensions, and continuous integration/delivery (CI/CD) systems.
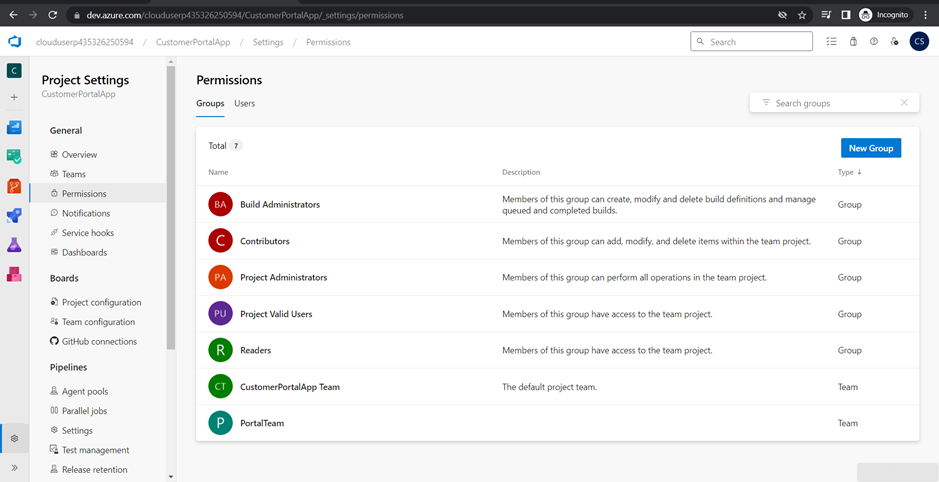
User Permissions and Security
Managing user permissions and ensuring data security are vital aspects of Azure DevOps administration. Consider the following steps:
- Role-Based Access Control (RBAC): Understand the RBAC model in Azure DevOps, which defines different user roles and their permissions.
- Assigning Roles: Determine the appropriate roles (such as Project Administrator, Contributor, Reader) for your team members and assign them accordingly.
- Managing Permissions: Control access to organization, team, and project resources by setting permissions at each level.
- Data Security: Implement best practices to protect your data and ensure compliance with security standards.
By following the steps outlined in this blog post, you have successfully set up your organization, team, and project in Azure DevOps. This marks the beginning of your Azure DevOps journey, where you will unlock a plethora of features to streamline your development processes. In the next part of this blog series, we will dive deeper into agile planning and tracking with Azure Boards. Stay tuned for more in-depth insights and practical tips to maximize your productivity with Azure DevOps!


